You've captured that one unforgettable landscape — a moment when nature revealed all its splendor. But how do you ensure that this digital masterpiece looks just as impressive on your wall? In this blog post, we cover everything you need to know to print your landscape photo to perfection. From composition and lighting to technical details like resolution, color profile, and file formats — we’ve got you covered.
From Digital Capture to Wall Art
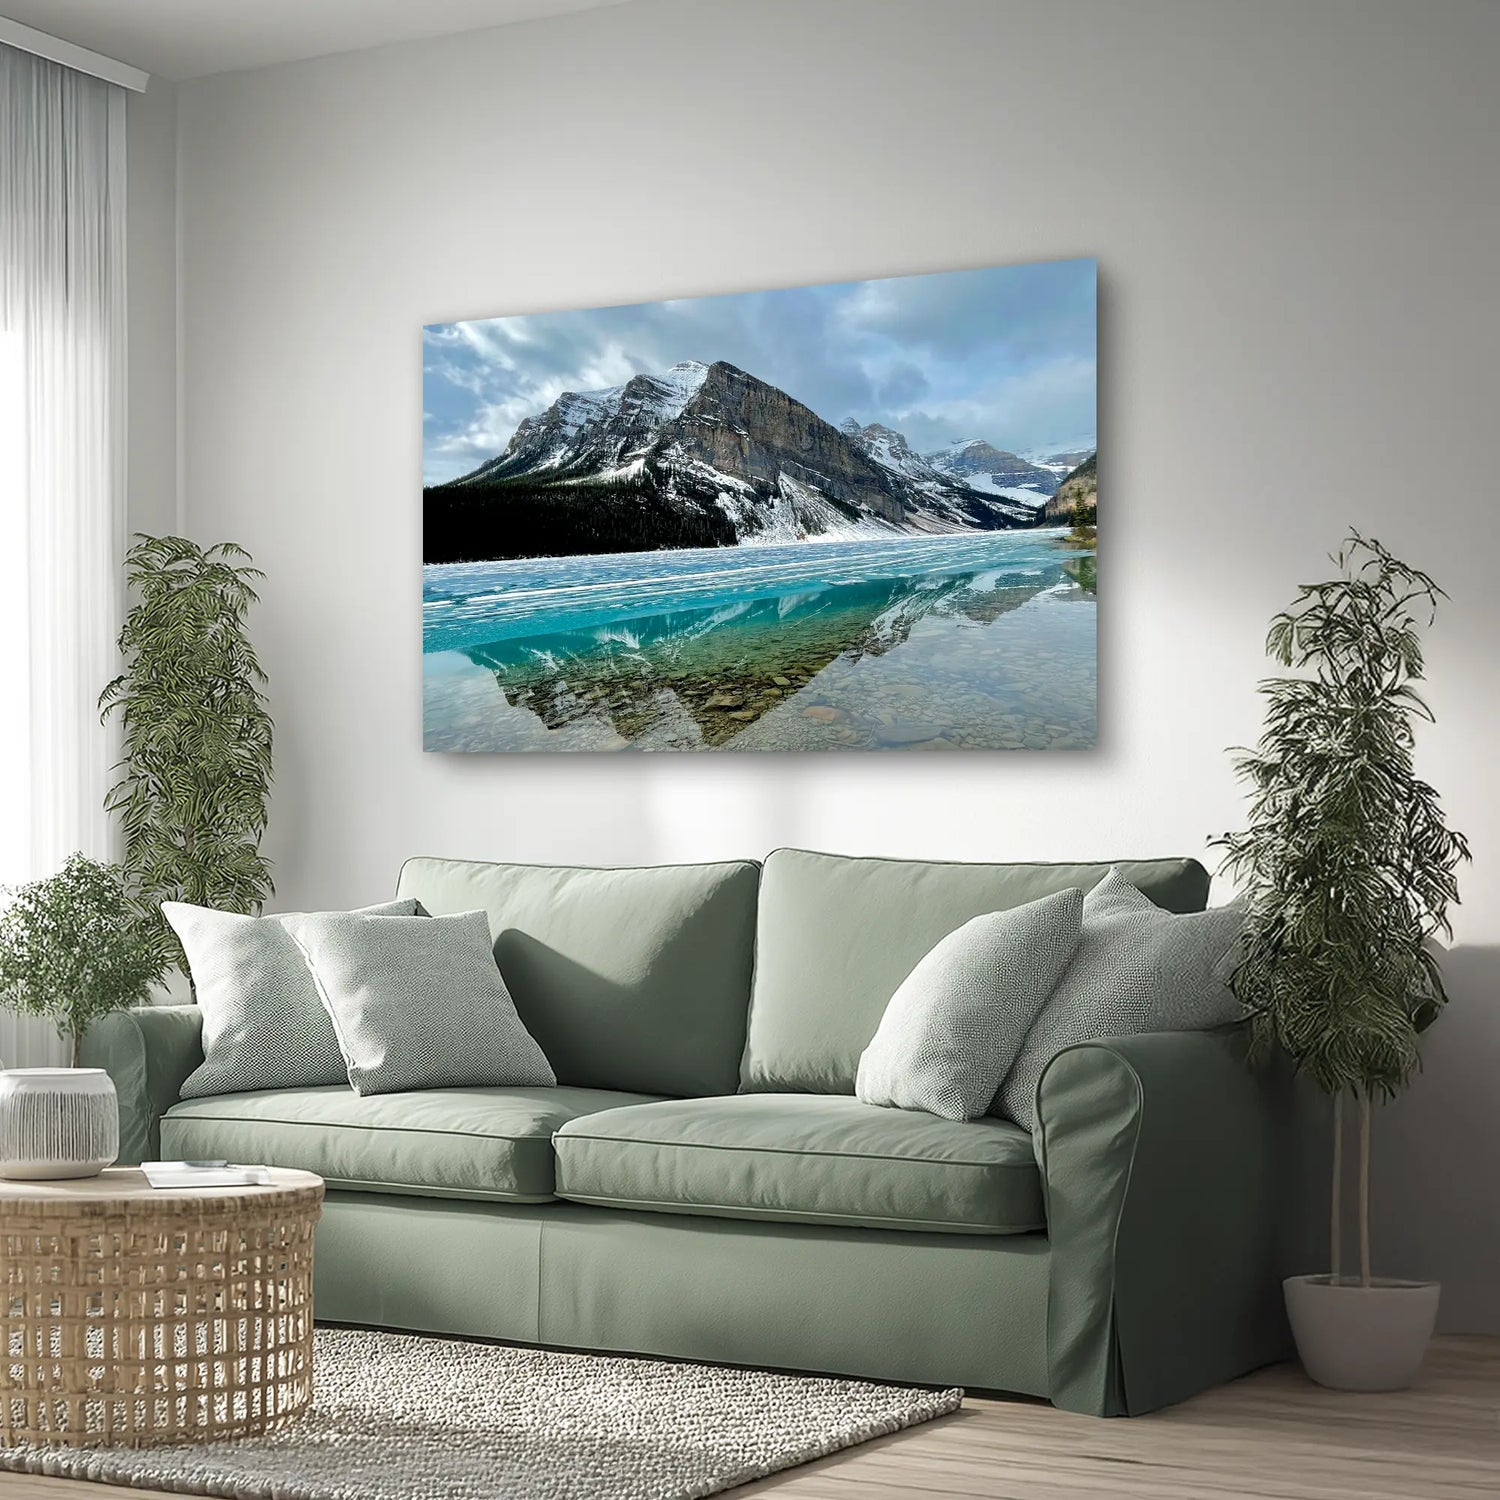
Choosing your best landscape photo is just the beginning. Before you hang it in a sleek Xpozer frame or showcase it as an EPIX phototile (for example, in the popular 30×40 cm format), it’s essential to prepare your file properly. With a modern printing solution like Xpozer, your photo gets a floating gallery look that lets the image take center stage.
The Essentials: Composition, Lighting, and Color
Keep the Horizon Straight
A level horizon brings balance and calm to your photo. Use your camera’s grid or editing software to ensure your shot isn’t tilted.
Find the Perfect Crop
Consider which elements in your image are most important. Sometimes, a well-thought-out crop can highlight the essence of the landscape even better.
Achieve Optimal Lighting
Make sure your photo isn’t too dark so that details in the shadows remain visible. Even lighting contributes to a sharp, dynamic print.
Enhance Colors Subtly
Instead of overdoing the saturation, try adjusting the vibrance. This brings out the less intense hues naturally, keeping your image looking authentic.
Technical Specifications for the Perfect Print
For the best print quality, your file must meet certain technical standards. Here are the key specifications:
Minimum Resolution:
Aim for at least 80 ppi/80 dpi. Naturally, the higher the resolution, the crisper your print will be.
Xpozer Prints
Xpozer prints are available in various sizes. Here are some popular formats along with their pixel dimensions and corresponding inch conversions:
40×60 cm (24×16″):
1,260 × 1,890 pixels (2.4 MP)
60×90 cm (36×24″):
1,890 × 2,835 pixels (5.4 MP)
100×150 cm (60×40″):
3,150 × 4,724 pixels (14.9 MP)
EPIX Phototiles
For a striking alternative, EPIX phototiles are available in a popular format:
30×40 cm (12×16″):
Color Space:
Use the sRGB color profile. This ensures that the colors in your print match what you see on your screen.
File Formats:
The most common and suitable formats for printing are JPG, JPEG, and PNG. These formats preserve quality and are widely compatible.
Export Settings for a Razor-Sharp Print
Once you’re happy with your edited photo, make sure to use the correct export settings:
Sharpen for Matte Paper:
Matte prints can sometimes appear a bit soft, so a slight sharpening can help bring out the details.
Save in sRGB:
This ensures that the color rendering in your print remains consistent with your digital edits.
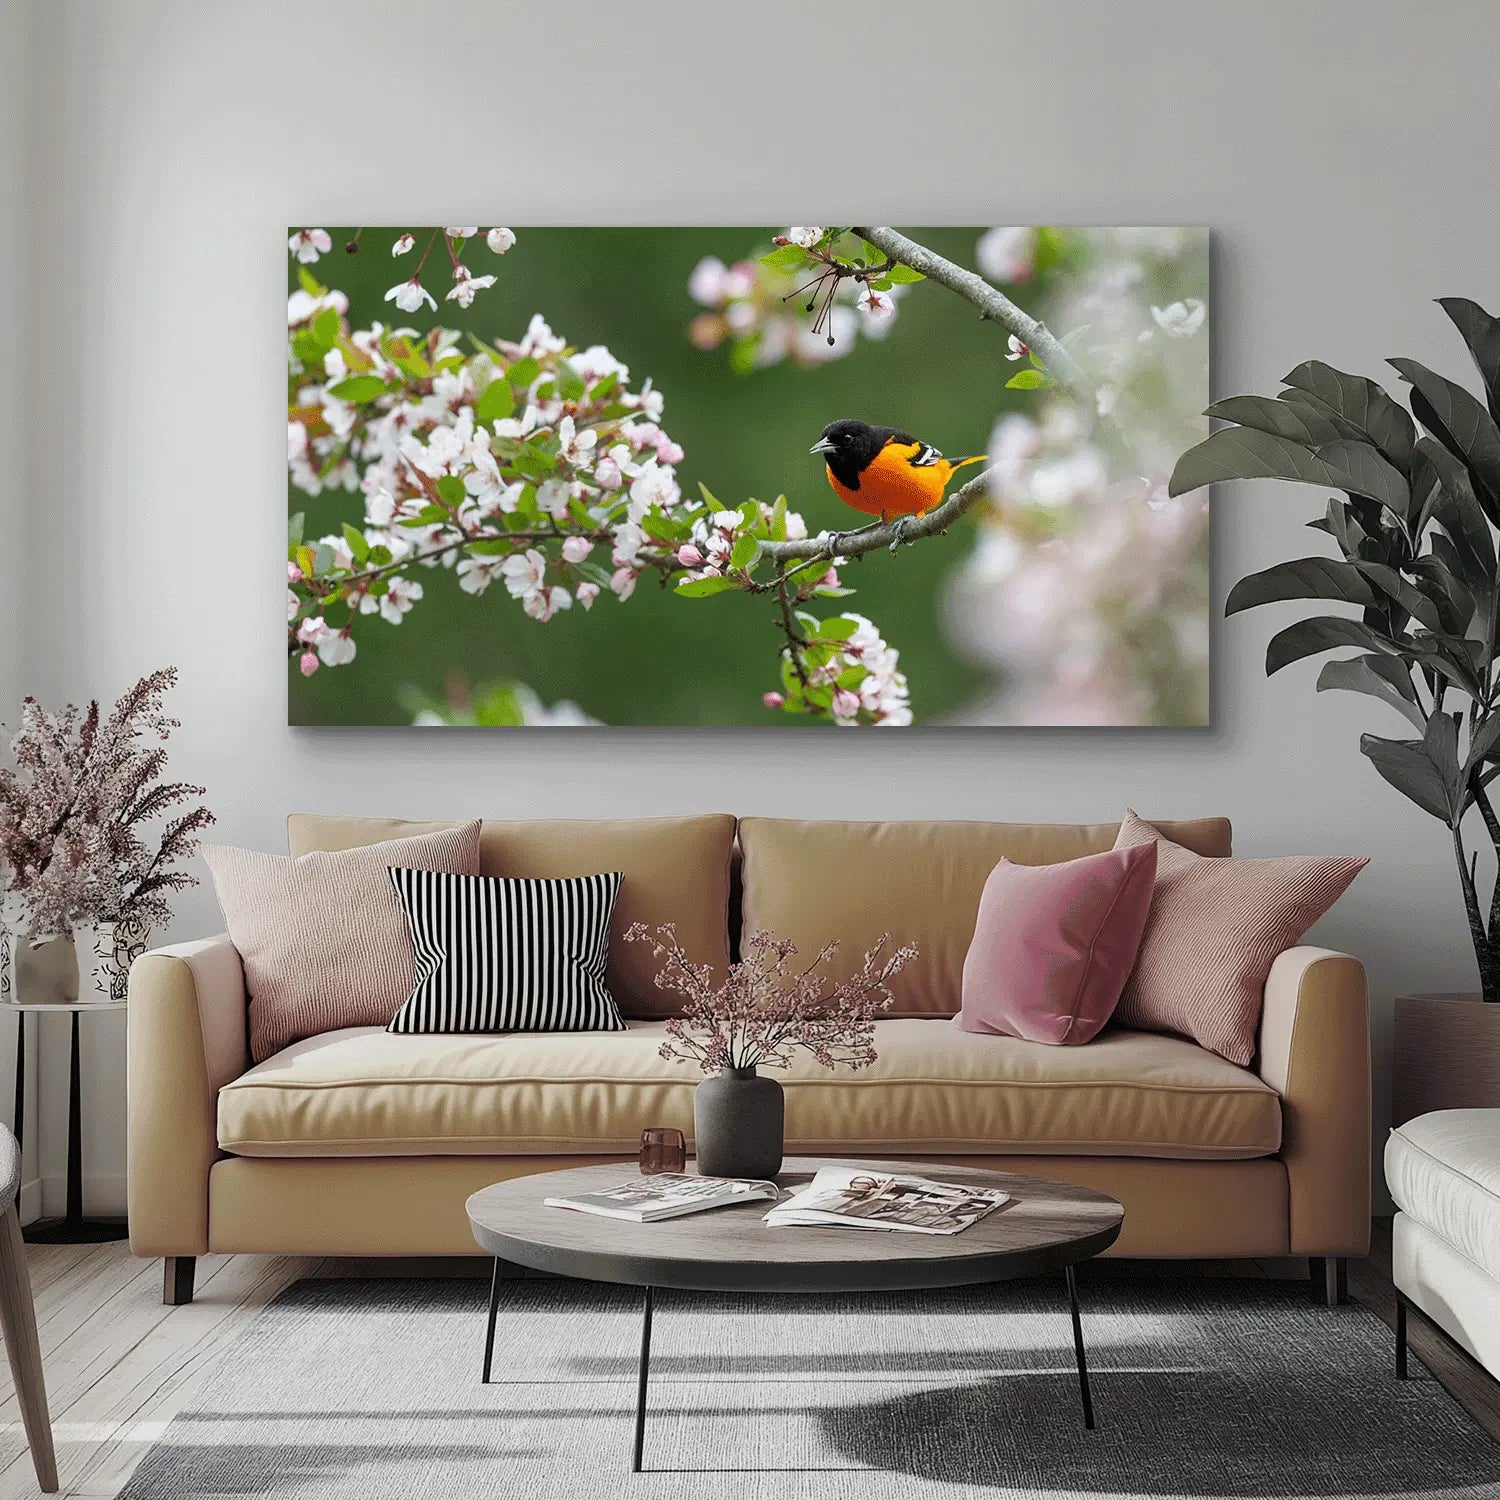
Perfect for Landscapes: Xpozer and EPIX
Whether you choose the classic elegance of an Xpozer print or the versatility of an EPIX phototile, both options provide an ideal way to showcase your landscape in a professional, gallery-like presentation.
Discover Xpozer Prints and Explore EPIX Formats for inspiring options to elevate your interior décor.
Conclusion
With careful preparation and attention to both creative and technical details, you can transform your digital landscape photo into a stunning piece of wall art. By ensuring a sharp composition, optimal lighting, subtle color enhancement, and the right technical specifications, you’ll enjoy a print that truly brings the beauty of nature to life.