
The photos on your wall differ from those on your computer for several reasons:
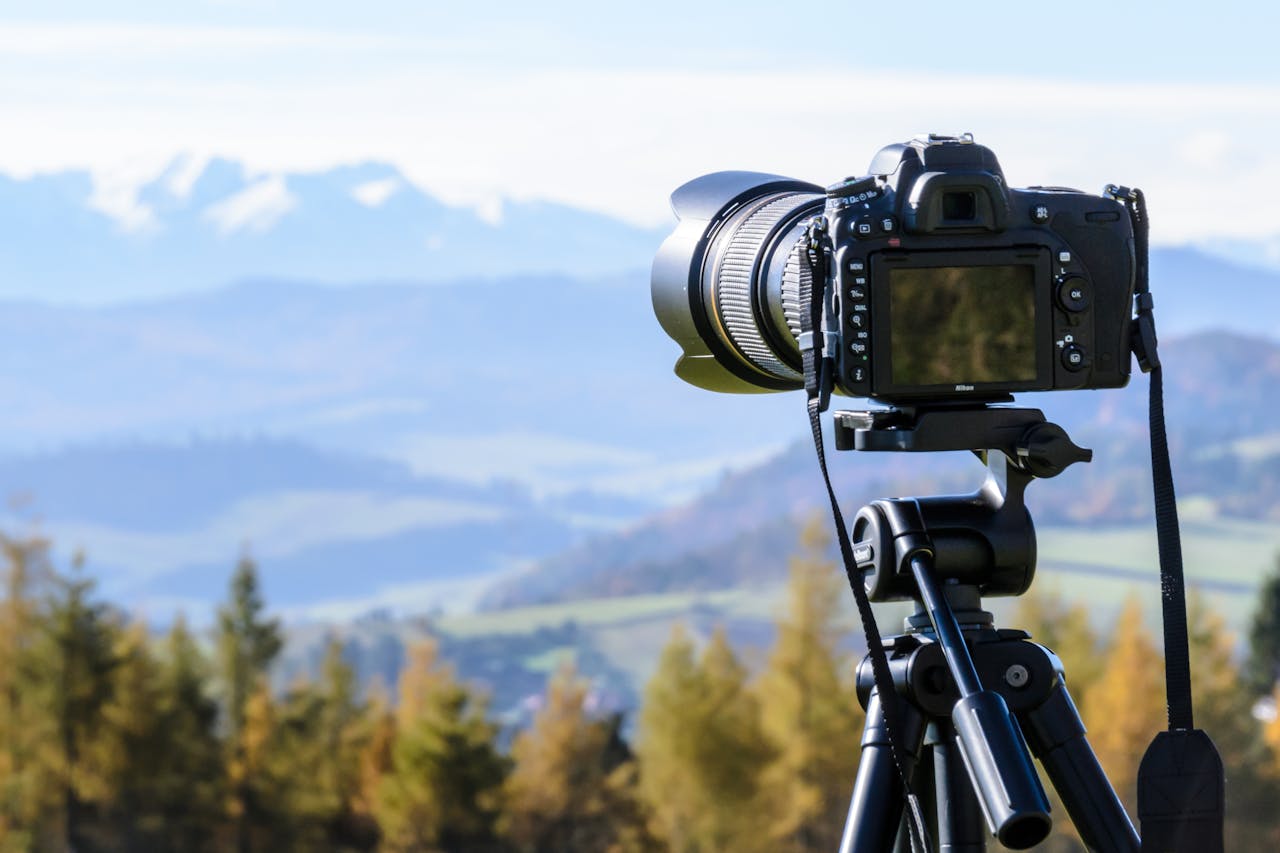
Step 1. Always shoot using the highest resolution
St
Every camera has a certain number of megapixels. Cameras with a larger number of megapixels shoot higher resolution photos. The higher the resolution, the larger a photo can be printed.
Many smart phones have cameras with 12+ megapixels and SLR cameras have even more (sometimes much, much more). In general, even cameras with 8+ megapixels can shoot photos that will look great as 24″ X 36″ wall prints. To make larger, high-quality wall photo prints, you’ll need a camera with more than 8 megapixels.
If your camera produces photos at 8 megapixels or more, you’ll be able to print a stunning wall print without worries!
St
A photo’s resolution is measured in pixels (not inches or centimeters). To check a photo’s resolution, you will need to check the width and height of your photo in pixels. This information is saved in the photo’s data file.
Do you use Photoshop? If so, open the photo in Photoshop and click on Image > Image Size. Make sure the photo’s width and height are set to pixels (not inches, centimeters, millimeters, etc.) This will show you the width and height of the photo in pixels.
If you don’t use Photoshop, no problem! On a PC you can get this information by right-clicking on the photo, scrolling down to Properties, and checking under Details for the photo size in pixels. On a Mac, when you command-click on the photo, scroll down and click on Get Info. Under More Info you’ll find the number of pixels. It’s as easy as that!
Once you have this information, you can use it to check the maximum print size for that photo.
St
While small printed photos are generally printed at 300 pixels per inch (ppi), for larger prints (like wall prints), there’s more wiggle room in the number of pixels needed because of the distance at which they will be viewed. (We’re assuming you will stand at least 12 inches from your wall print when admiring it!)
Fun fact: Billboards are often printed at resolutions as low as 12-15 ppi! Because they’re viewed from far away, they still look great even though the resolution isn’t very high. The same principle applies to large wall prints.
Bigger photos need less-big resolutions Photo wall prints are big, sometimes huge, which is why they can be viewed perfectly from the other side of your living room. Because the photo will be viewed from farther away, it can have a lower resolution and still look great. Photos that will be hung on the wall don’t need to be saved at a 300 PPI resolution. At Xpozer, we print photos with a minimum resolution of 80 PPI as large as 40 x 80 inches and 100 x 200 centimeters Billboards only need around 15ppi because they’re viewed from super far away.


For photo prints that are 24″ by 36″ or larger, Xpozer recommends a minimum of 80 ppi.

With Photoshop you can easily check if your photo can be printed at the size you want.
Follow these quick steps:
Don’t use Photoshop? This handy chart will allow you to check your photo’s resolution before printing, based on your camera’s megapixels (assuming that you shoot at maximum resolution).

Checking your photo’s resolution is an essential part going from a photo on your screen to stunning wall print. By using the above tips, you can be sure that your photo’s resolution is high enough to print big!
What’s the difference between DPI and PPI?
DPI (dots per inch) and PPI (pixels per inch) are often used interchangeably, but they’re not the same thing. DPI is a printing term that refers to the number of physical dots of ink printed in one square inch of a printed photo. PPI is a digital term that refers to the number of digital pixels that appear in one square inch of a digital image. Unless you’re a professional photo printer, you generally don’t need to worry about DPI. Focus your attention on the PPI and aim for 80 PPI or higher when saving a photo for a wall print.
How to save photos for large-size printing
Please note: These steps are for photographers who want the absolute highest quality photo print. Simply saving your photo in a good file format at maximum resolution is usually sufficient for a good photo print. If you want to do it as the pros do, read on!
Step 1: Choose the right file format
Many photographers shoot and edit in RAW. This is a recommended file format because it permits you to more easily adjust your photos without negatively affecting the quality of the photo. However, RAW is not a file format that can be used for printing.
When you’ve finished editing your photo, we recommend that you save it as a JPG and submit that format for printing. Saved as a JPG file, your photo has the maximum quality that a printer can process.
While a photo saved as a TIFF file technically has more color channels and is often a larger file, we know from experience that it doesn’t result in a higher quality print. The difference between a print from a JPG or a TIFF file is not visible to the naked eye but only in file size. It’s better to save photos as a JPG file for photo wall prints.
If your photo print includes vector-based designs (text, logos, drawings, etc.), we recommend that the image be saved as a PDF file.
In Photoshop you can choose your desired file format by going to File > Save As. Then you can select the file format from a dropdown menu. In Lightroom, when you select File > Export, you may select the file format you want and select the size and quality. Make sure they are all maxed out for the best results.

Step 2: Choose your color space
When saving your photo, you can also set your preferred color spaces. Different spaces offer different levels of color saturation. The most well-known color spaces are RGB (which has multiple variations) and CMYK.
For photo wall prints, we highly recommend saving your photo in the sRGB color space. sRGB offers a wider range of colors, or a wider gamut, than CMYK. This means that the color saturation will be better and your wall print will capture all of the color nuances included in your photo.
The difference between AdobeRGB and sRGB is nearly invisible in a printed photo. However, because AdobeRGB is not readable by many monitors, internet browsers and printers, we strongly suggest you save your photos in the sRGB color space.
Luckily, when ordering a wall print from Xpozer and use the AdobeRGB color space, it’s not a problem! Our monitors and printers can read both color spaces.

Step 3: Save in the maximum resolution for large-size printing
While the file type and color space are important when saving your photo, the resolution is even more important when printing a photo for your wall. We recommend to always save your photo at the maximum quality and file size. It would be a shame to print your stunning photo at anything less than maximum quality. You’d lose detail and color.
In Lightroom: select the size of photo you’d like to print under ‘Image Sizing’ (for example a 36″ X 24″ wall print). Always choose the maximum number of ppi (pixels per inch) or dpi (dots per inch).
Step 4: Sharpening through paper type
If you want to print an absolutely perfect wall print, you may want to select the type of paper on which you’ll print. Certain types of paper record the details of your photo better than others. By selecting the paper type in the settings you use to save your photo, you can create maximum sharpness in your photo. The paper type can be set in Lightroom under ‘Output Sharpening.’
Are you transforming your digital photo into an Xpozer wall print? If so, when exporting your photo choose the ‘Matte Paper‘ option under the ‘Output Sharpening‘ settings and set the amount to ‘High‘. Xpozer photo prints are printed on our matte, custom-made Vivid Satin photo material.
