How to Check Your Photo's Resolution for High-Quality Wall Prints
Ready to turn that amazing photo into a stunning piece of wall art? Before you hit 'print', there's one crucial step: checking your photo's resolution. This guide will walk you through everything you need to know to ensure your wall print is sharp, clear, and beautiful.
Printing a photo for your wall is different from viewing it on a screen. Here’s why:
- Larger Physical Size: Wall prints are much bigger than photos on your phone or in a photo album. This means they require a higher total number of pixels to look good without appearing blurry or pixelated.
- Greater Viewing Distance: You admire wall art from a few feet away, not with your nose pressed against it. Because of this distance, the required resolution (in pixels per inch) can be lower than what’s needed for smaller, closely-viewed prints, and still look fantastic.
Step 1: Always Shoot in the Highest Resolution
Before you even start shooting, check your camera’s settings. Make sure your images are being saved at the highest possible resolution and quality (often labeled as 'Large' or 'Fine'). You can always downsize a high-resolution photo later for sharing online, but you can't magically add detail to a low-resolution photo to make a quality wall print. Starting with the best quality file will save you a lot of disappointment!
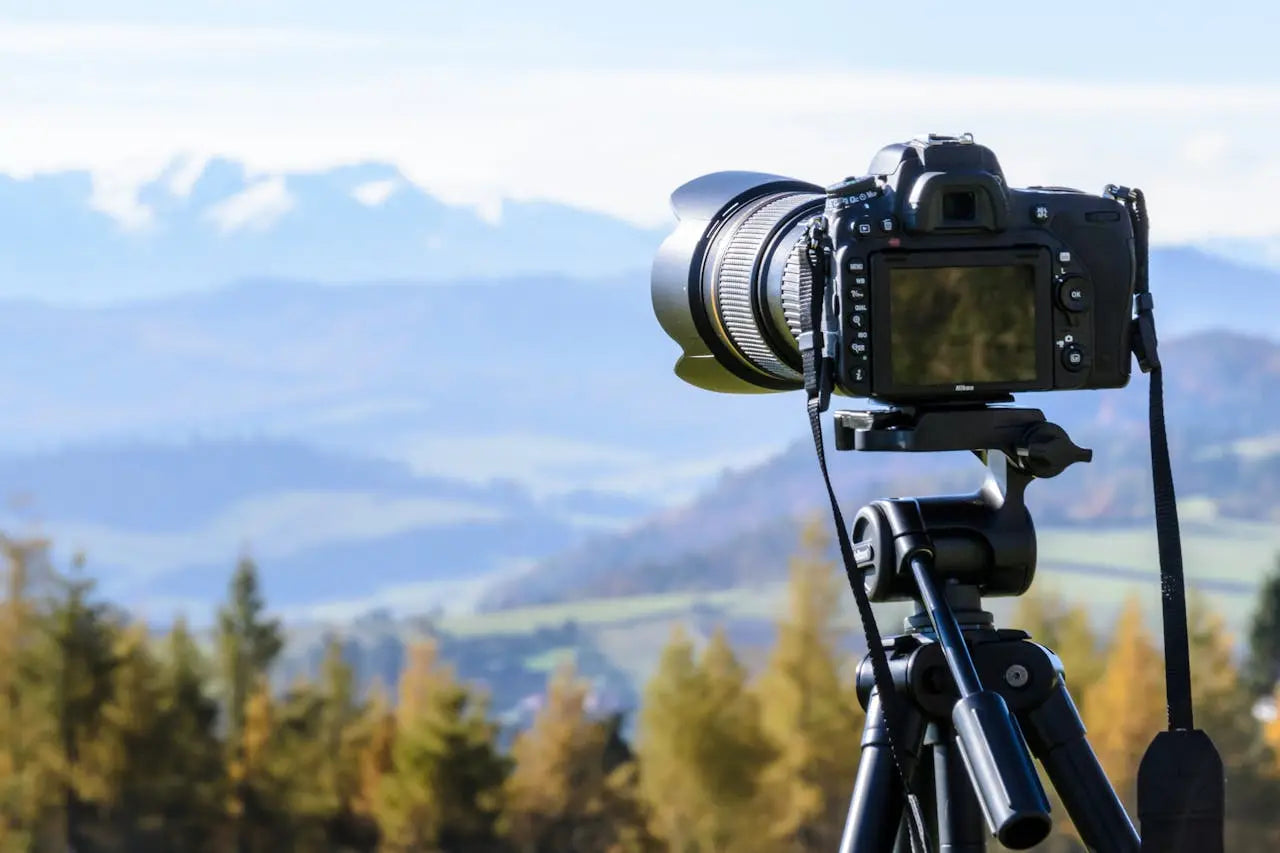
Step 2: Know Your Camera’s Megapixels
Every camera, including the one in your smartphone, has a megapixel (MP) count. More megapixels generally mean higher resolution photos. The higher the resolution, the larger you can print your photo while keeping it sharp.
Many modern smartphones have cameras with 12MP or more, and DSLR or mirrorless cameras often have much higher counts. As a general rule, even a photo from an 8MP camera can produce a great-looking 24" x 36" wall print. For truly massive, high-quality prints, you'll want a camera with a higher megapixel count.
If your camera is 8MP or more, you're likely in great shape for a stunning wall print!
Step 3: Find Your Photo's Pixel Dimensions (Width & Height)
A photo's true resolution is measured in pixels. To know if your photo is suitable for a large print, you need to find its dimensions in pixels (e.g., 6000 pixels wide by 4000 pixels high). This information is stored in the photo's file data.
- On a PC: Right-click the photo file, go to 'Properties', and then click on the 'Details' tab. You will see the dimensions listed in pixels.
- On a Mac: Right-click (or Ctrl-click) the photo file and select 'Get Info'. Under the 'More Info' section, you'll find its dimensions.
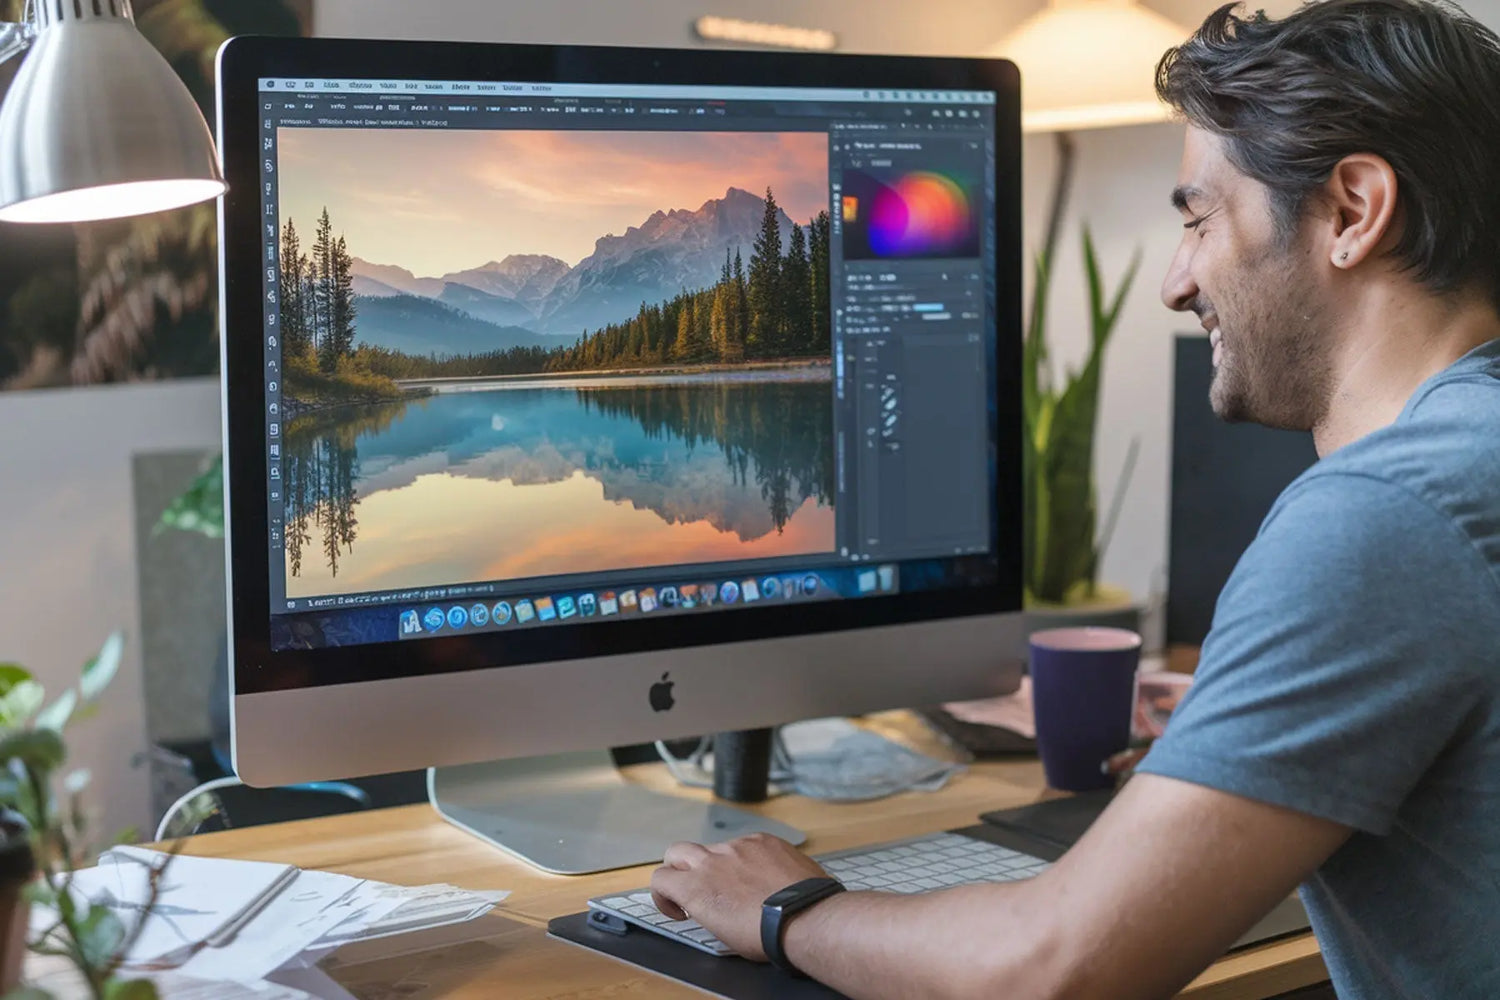
- In Adobe Photoshop: Open the photo and go to Image > Image Size. Ensure the units for Width and Height are set to 'Pixels'.
Once you have these pixel dimensions, you can determine the maximum print size.
Step 4: Calculate the Maximum Print Size
For small prints that are held in your hand (like a 4x6 photo), the standard for high quality is 300 pixels per inch (PPI). However, for large wall prints viewed from a distance, you need far fewer PPI for the image to look perfectly sharp.
Fun Fact: Billboards are often printed at resolutions as low as 10-15 PPI! Because we see them from so far away, our eyes perceive them as sharp and clear. The same principle applies to large wall prints in your home.
At Xpozer, we've found that a minimum resolution of 80 PPI is perfect for creating stunning, large-format wall art (e.g., 20" x 30" and larger).
How to Check Print Size in Photoshop:
- Go to Image > Image Size.
- Change the units for Width and Height to Inches.
- Uncheck the "Resample" box. This is very important, as it ensures you are seeing the true resolution.
- Enter your desired print width or height (e.g., 40 for the width). The other dimension will update automatically.
- Look at the 'Resolution' number. If it's 80 or higher, your photo is perfect for printing at that size!

Don't have Photoshop? No problem. Use this handy chart to estimate the high-quality print sizes you can achieve based on your camera's megapixels.

What’s the Difference Between DPI and PPI?
You'll often hear DPI (dots per inch) and PPI (pixels per inch) used interchangeably, but they are different.
- PPI (Pixels Per Inch) refers to the number of square pixels on a digital screen. This is what you need to focus on for your digital image file.
- DPI (Dots Per Inch) is a printing term referring to the physical dots of ink a printer lays down on paper.
As a photographer, your main concern is PPI. Aim for 80 PPI or higher for your large wall print file, and let the print lab handle the DPI.
Pro Tips: How to Save Your Photos for Maximum Print Quality
Note: These steps are for photographers who want the absolute best-in-class print. For most users, simply providing a high-resolution JPG is perfectly fine!
Step 1: Choose the Right File Format
Many photographers shoot in RAW, which is fantastic for editing as it preserves the most image data. However, you cannot print directly from a RAW file. After editing, you need to export your photo to a print-ready format.
We recommend saving and submitting your photo as a JPG (or JPEG) file. When saved at maximum quality, a JPG provides all the detail and color a printer can process. While TIFF files are technically larger, the difference in print quality is invisible to the naked eye. A max-quality JPG is the perfect balance of quality and file size.
If your image contains vector elements like text or logos, saving as a PDF is the best choice.
Step 2: Choose the Right Color Space
For photo wall prints, we highly recommend saving your photo in the sRGB color space. sRGB offers a wide range of colors (gamut) and is the universal standard for most screens, web browsers, and printers. While AdobeRGB has a slightly wider gamut, the difference in print is often negligible, and it can cause color-shifting issues if not handled by a fully color-managed workflow.
Luckily, if you order a wall print from Xpozer, our professional printers can correctly interpret both sRGB and AdobeRGB, so you'll get great results either way!
Step 3: Save in Maximum Resolution
This is the most important step! When exporting your photo from a program like Lightroom or Photoshop, always save it at its original, full resolution. Don't downsize the image or compress it heavily. You want to send the printer as much data as possible to work with.

Step 4: Apply Output Sharpening
For a final professional touch, you can apply sharpening specifically tailored to the print paper. In Lightroom's Export dialog, under 'Output Sharpening', you can check the box to 'Sharpen For' a specific paper type.
If you're printing an Xpozer wall print, our custom-made photo material has a beautiful satin-matte finish. For the best results, select the 'Matte Paper' option and set the 'Amount' to 'High'. This will give your final print an extra touch of crispness.

By following these steps, you can be confident that the photo you send for printing has the perfect resolution to become a stunning work of art on your wall!